WAIT!
Don’t leave empty-handed! Grab this FREE survival & DIY guide!
Learn how to build a pro-level workshop, slash bills, and prep for any crisis even if you’re a beginner.

Get prepped, powered, and self-reliant starting today.


How to Build a DIY Atmospheric Water Collector
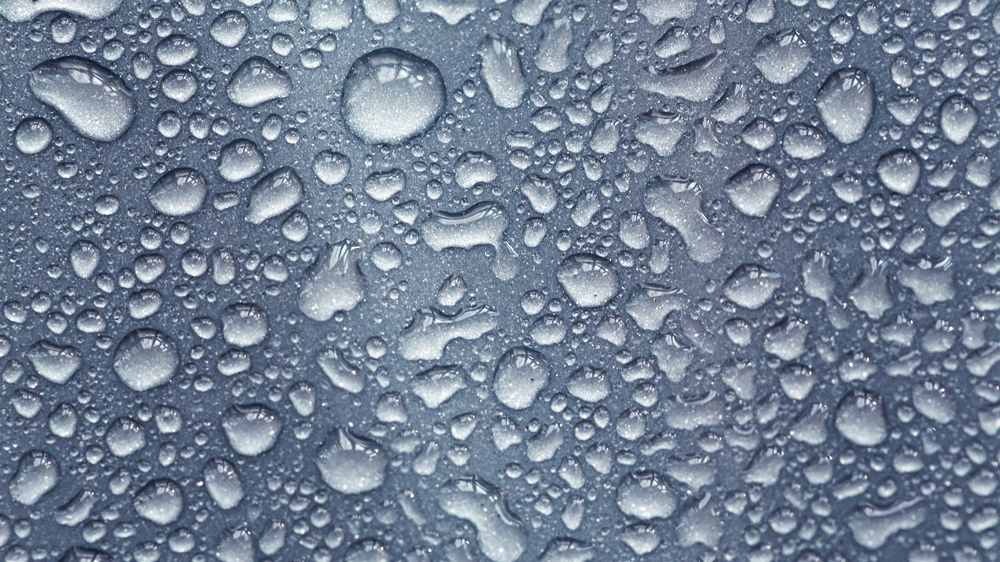
Water scarcity affects millions, but a simple solution lies right in the air. A DIY atmospheric water collector can turn humidity into drinkable water using basic materials. It’s a practical project for sustainability-minded individuals or those living in dry regions. Best of all, building one requires no advanced skills—just a little time and effort.
This guide breaks down the process into clear, manageable steps. Whether you're prepping for emergencies or reducing reliance on traditional water sources, this method offers a reliable alternative. Let’s get started.
Video: See how this innovation works in practice. With basic materials and some patience, you can create a reliable backup water source.
Understanding Atmospheric Water Collection
Humidity in the air holds a surprising amount of water—enough to sustain life if collected properly. A diy atmospheric water collector captures this moisture, turning it into drinkable water with minimal reliance on external sources. This method proves especially useful in arid regions or as a backup during emergencies.
How Atmospheric Water Generators Work
Air contains water vapor, which condenses into liquid when cooled. Atmospheric water generators use this principle by:
- Pulling in humid air with a fan.
- Cooling the air below its dew point, often with a condenser or Peltier device.
- Collecting condensed droplets in a clean reservoir.
Higher humidity levels produce more water. For example, air at 70% humidity generates nearly twice as much water as air at 40%. The process requires minimal energy, especially in naturally humid climates.
Benefits of DIY Atmospheric Water Collectors
Building your own system offers several advantages:
- Cost savings: Avoid expensive commercial units by using affordable materials like PVC, fans, and condensers.
- Sustainability: Tap into a renewable water source without draining wells or municipal supplies.
- Independence: Reduce reliance on infrastructure, especially during droughts or power outages.
A well-made diy atmospheric water collector provides clean water with little maintenance. It’s a practical way to prepare for shortages while lowering environmental impact.
Materials Needed for Your DIY Project
Building a diy atmospheric water collector requires a handful of key components. Some are essential, while others enhance efficiency. Choose materials based on your budget and climate conditions.
Essential Components
These parts form the core of your water collection system:
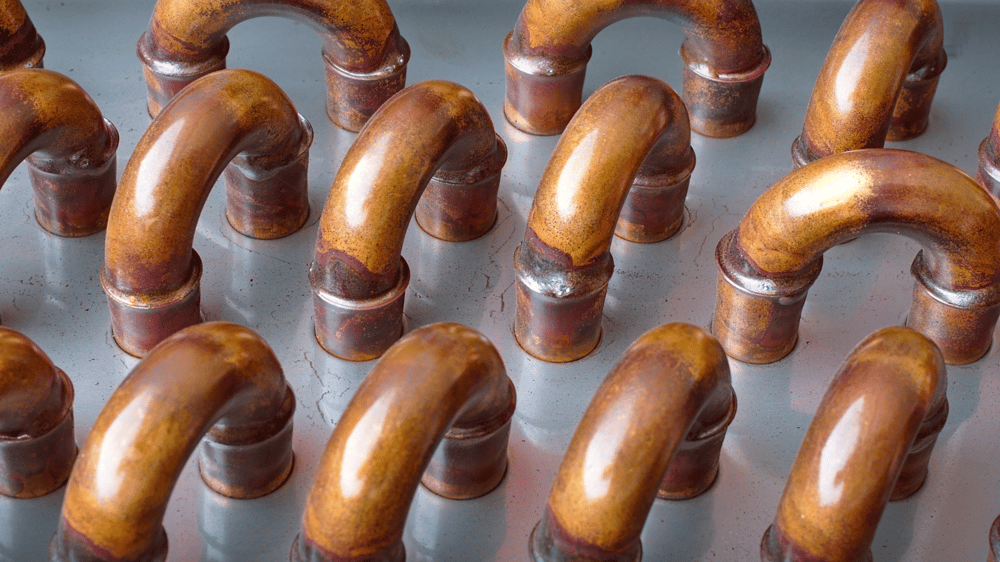
- Condenser (Peltier module or copper coil): Cools humid air below its dew point, turning vapor into liquid. A Peltier module works well for small-scale setups, while copper coils handle higher volumes.
- Fan (DC or AC): Circulates air toward the condenser. A quiet, energy-efficient fan maximizes airflow without excessive power use.
- Filter (activated carbon or sediment): Removes dust and contaminants from collected water. A basic setup can start with a coffee filter, but activated carbon improves taste and safety.
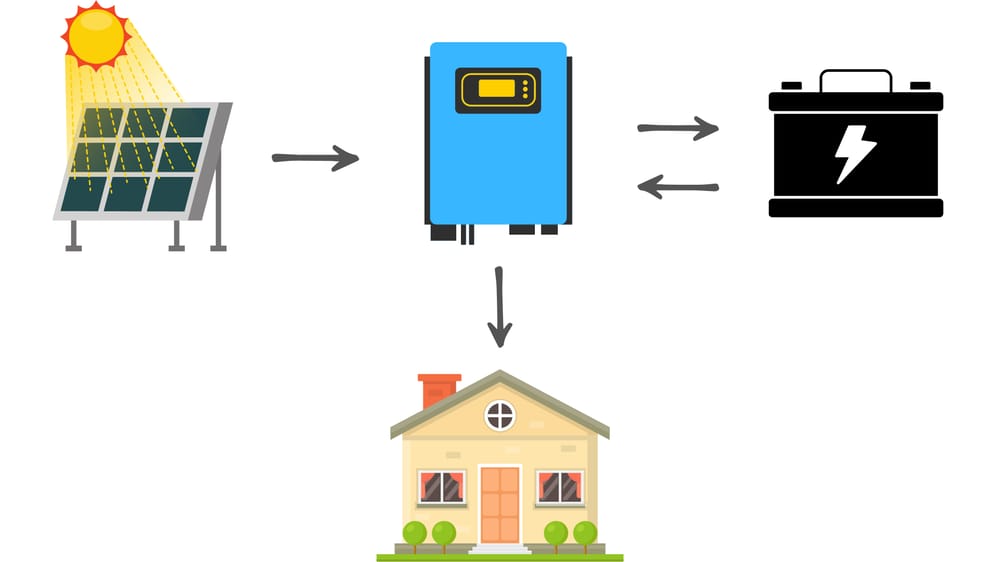
- Power source (battery or solar-compatible adapter): Powers the fan and condenser. A 12V battery or small solar panel keeps the system running off-grid.
- Water reservoir (food-grade container): Stores condensed water. Use a container with a tight lid to prevent contamination.
Without these components, the system won’t function as effectively. Prioritize durability—cheap materials may fail in high-humidity conditions.
Learn more about the science behind it in this condensation harvesting guide.
Optional Add-Ons for Efficiency
Upgrades can boost water output and reduce maintenance:
- Solar panels: Cut energy costs by powering the fan and condenser with sunlight. Ideal for remote locations.
- Humidity sensor: Automates the system by activating it only when moisture levels are high.
- Advanced filtration (UV sterilizer or reverse osmosis): Ensures water purity if using the collector for drinking.
- Insulated housing: Minimizes heat exchange with the environment, improving condensation efficiency.
These extras aren’t required, but they streamline operation. Consider them if you plan to scale up your project or rely on the collector daily.
The right materials make the difference between a functional diy atmospheric water collector and an unreliable one. Focus on quality for long-term results.
Step-by-Step Construction Guide
Building a diy atmospheric water collector requires careful assembly but no specialized skills. Follow these steps to create a functional system that maximizes water output while keeping energy use low.
Building the Condensation Unit
The condenser forms the heart of your system. Start by positioning the cooling element—either a Peltier module or a copper coil—at the center of your frame. Secure it to a heat sink to dissipate warmth efficiently. If using copper tubing, coil it tightly to maximize surface area for condensation.
Next, attach the cooling plate to a sturdy backing, such as an acrylic sheet or PVC board. This prevents wobbling and ensures consistent airflow. Here’s how to test the setup before finalizing:
- Power the condenser briefly to confirm it cools properly.
- Check for even condensation by breathing on the surface—water droplets should form uniformly.
- Seal any gaps around the edges with waterproof epoxy to prevent air leaks.
A well-built condenser unit pulls moisture from the air reliably. For better results, insulate the area around the cooling element to reduce external heat interference.
Setting Up the Power and Airflow System
Airflow drives the entire process. Position a DC fan (5V or 12V) near the condenser to pull humid air across the cooling surface. Angle the fan slightly downward to direct condensed droplets toward your collection tray.
For power, connect the fan and condenser to a compatible source:
- Use a 12V battery for portability, ideal for off-grid setups.
- Opt for a solar panel with a charge controller if running the system outdoors.
- A USB power adapter works for smaller indoor prototypes.
Wire the components in parallel to avoid overloading the circuit. Test the fan speed—too fast disrupts condensation, while too slow limits water output. A moderate, steady flow works best.


Testing and Troubleshooting
Before relying on your collector, validate its performance. Run the system for an hour in high humidity (above 60%) and measure the water collected. Expect roughly 50-100ml per hour in optimal conditions.
Common issues and fixes:
- Low water output? Check for air gaps around the condenser or insufficient cooling. Add insulation or upgrade the Peltier module.
- Water tastes odd? Replace the filter (activated carbon works best) and sanitize the reservoir with white vinegar.
- Fan not running? Verify connections with a multimeter and ensure the power supply matches voltage requirements.
Regular maintenance—cleaning the filter monthly and inspecting wires for corrosion—extends the system’s lifespan. Small adjustments often yield big improvements in efficiency.
This construction method balances simplicity with functionality. Once operational, your diy atmospheric water collector will produce clean water with minimal intervention.
Maximizing Efficiency and Water Output
Getting the most from your diy atmospheric water collector depends on smart placement and regular upkeep. Even a well-built system underperforms if exposed to poor conditions or neglected. A few strategic choices can double your water yield while extending the device’s lifespan.
Optimal Placement for Your Collector
Location directly impacts how much water your system produces. Focus on three factors: humidity, sunlight, and airflow.
- Humidity: Place the collector where moisture concentrates naturally. Near gardens, lakes, or damp basements work well. Avoid dry zones like attics or windy rooftops.
- Sunlight: Direct heat reduces condensation. Shaded areas, like under a tree or beside a north-facing wall, keep the system cool. If using solar power, position panels separately in full sun.
- Airflow: Steady breezes boost performance, but strong winds disrupt condensation. Mount the unit 3-5 feet off the ground, sheltered from gusts.
Morning and evening often offer the highest humidity. Test different spots by running the collector for a few hours in each. Track results to identify the best site.
Maintenance Tips for Longevity
A clean system produces cleaner water. Follow these steps monthly to maintain peak performance:
- Clean the condenser with distilled vinegar to dissolve mineral buildup. Scrub gently with a soft brush.
- Replace filters every 2-3 months. Clogged filters slow airflow and harbor bacteria.
- Check for mold in the reservoir. Rinse with a mild bleach solution (1 teaspoon per gallon of water) if needed.
- Inspect wiring for fraying or corrosion, especially in outdoor setups.
Deep clean the storage tank monthly with vinegar to inhibit bacterial growth. Systems with compressors or fans need lubrication and dust removal to avoid overheating. Proper care extends a unit’s lifespan, as noted in this maintenance guide.
Store the collector indoors during extreme weather. Freezing temperatures can crack condensers, while heavy rain may flood electronics. A little care ensures your diy atmospheric water collector runs smoothly for years.
Real-World Applications and Success Stories

Atmospheric water collectors aren’t just theoretical—people worldwide use them to solve real water challenges. From arid villages to off-grid homesteads, these systems provide clean water where traditional sources fail. Here’s how practical and impactful a diy atmospheric water collector can be.
Emergency Relief in Disaster Zones
When hurricanes or earthquakes disrupt water supplies, atmospheric collectors become lifelines. Aid organizations deploy portable versions in temporary camps, pulling moisture from humid air to provide drinking water. For example:
- After Hurricane Maria in Puerto Rico, DIY collectors helped communities without power or plumbing.
- In rural Nepal, post-earthquake recovery efforts included small-scale condensers for remote families.
These systems work without infrastructure, making them indispensable where wells and pipes are damaged.
Sustainable Farming in Dry Regions
Farmers in drought-prone areas use atmospheric water to irrigate crops. Greenhouses with built-in condensers reduce reliance on wells, preserving groundwater. One California vineyard cut water purchases by 30% after installing collectors to hydrate young vines. Other successes include:
- Smallholder farmers in Mexico growing herbs with nighttime condensation.
- Rooftop collectors in Arizona supplying water for urban microgreens.
The approach suits water-intensive crops like leafy greens, turning humidity into a resource rather than a limitation.

Off-Grid Homesteads and Tiny Homes
For those living independently, atmospheric water collectors offer freedom from utility bills. A family in Colorado runs a cabin entirely on solar-powered condensation, gathering 10-15 gallons weekly. Key takeaways from off-grid users:
- Morning dew collection boosts yields in cooler climates.
- Combining collectors with rainwater systems covers seasonal dry spells.
Simple designs—like fog nets over metal roofs—prove even low-tech methods work with creativity.
The versatility of diy atmospheric water collectors shines in these examples. Whether for survival, sustainability, or self-sufficiency, the technology adapts to diverse needs with tangible results.

Conclusion
A DIY atmospheric water collector transforms air into a reliable water source with minimal cost and effort. It offers independence during shortages, reduces environmental strain, and works in diverse climates.
Gather your materials and follow the steps outlined here. The result is a functional system that delivers clean water when you need it most. Start building today and take control of your water supply.
Share your progress in the comments—what challenges did you overcome? What improvements worked for you? Your experience could help others succeed.





See other posts like this one:






Your home for DIY projects, off-grid solutions,
and real-world craftsmanship.
Contact
support@charliesworkshop.net
© 2025 Charlie's Workshop