WAIT!
Don’t leave empty-handed! Grab this FREE survival & DIY guide!
Learn how to build a pro-level workshop, slash bills, and prep for any crisis even if you’re a beginner.

Get prepped, powered, and self-reliant starting today.


Harnessing Water Energy: How to Make Your Own Hydro Generator
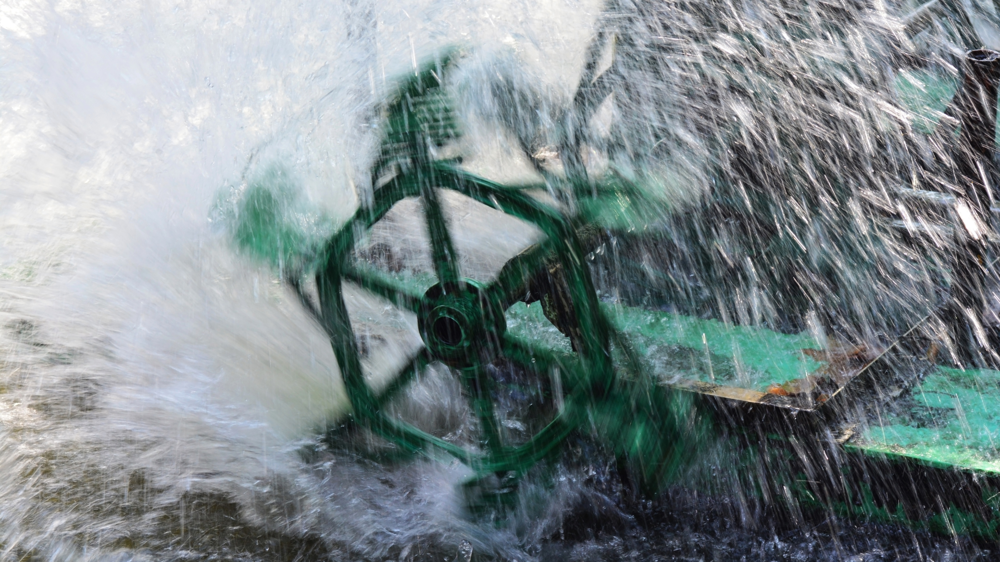
Harnessing flowing water for power isn’t just for large-scale dams—it’s possible to build your own homemade hydro generator. These DIY systems can turn a nearby stream or river into a reliable source of clean energy, reducing reliance on the grid. For off-grid living or backup power, a small hydro setup offers steady electricity with lower long-term costs.
Sustainable and cost-effective, homemade hydro generators appeal to anyone looking for energy independence. With basic materials and some technical know-how, you can generate power without ongoing fuel expenses. This guide walks through the essentials, from design principles to practical assembly.
Video tutorial on micro hydro generators.
Understanding Homemade Hydro Generators
A homemade hydro generator converts the kinetic energy of flowing water into usable electricity. Unlike large hydroelectric dams, these DIY systems are small-scale and designed for personal use—ideal for powering cabins, homesteads, or remote locations where streams or rivers are accessible.
The setup relies on simple physics: moving water spins a turbine, which then drives a generator to produce electricity. While traditional power sources burn fuel or depend on inconsistent sunlight or wind, a well-built hydro generator provides steady energy as long as water flows.
How Hydro Generators Work
Water flows downhill due to gravity, gaining speed and force. When directed through a narrow channel or pipe, this force increases, spinning a turbine. Think of it like a pinwheel in a strong breeze—except water’s density means even slow currents pack serious energy.
Here’s the basic energy conversion:
- Water movement turns the turbine blades.
- The rotating turbine spins a shaft connected to an alternator or generator.
- The alternator converts mechanical energy into electrical energy through electromagnetic induction (essentially, magnets moving past copper coils).
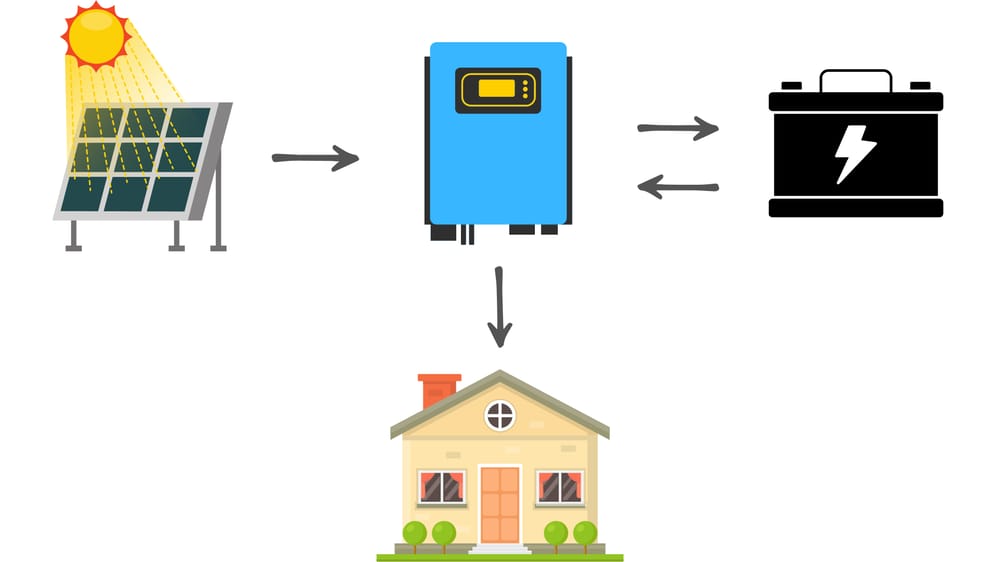
- The electricity is then sent through wiring to batteries or directly to appliances.
Larger drops in elevation (head) or faster flows (current) produce more power. But even small streams can generate meaningful electricity with the right setup.
Core Components of a Homemade Hydro Generator
Building your own requires a few key parts, most of which can be repurposed or fabricated:
- Turbine: The part that catches water flow. Pelton wheels work well for high-head setups, while cross-flow turbines suit low-head streams. Simple paddle wheels can also be crafted from scrap metal or PVC.
- Alternator/Generator: Converts rotation into electricity. Small car alternators or permanent magnet motors (like those from treadmills) often work for DIY projects.
- Mounting System: Holds the turbine securely in flowing water. This could be a wooden frame anchored to rocks or a pipe fastened to a secured base.
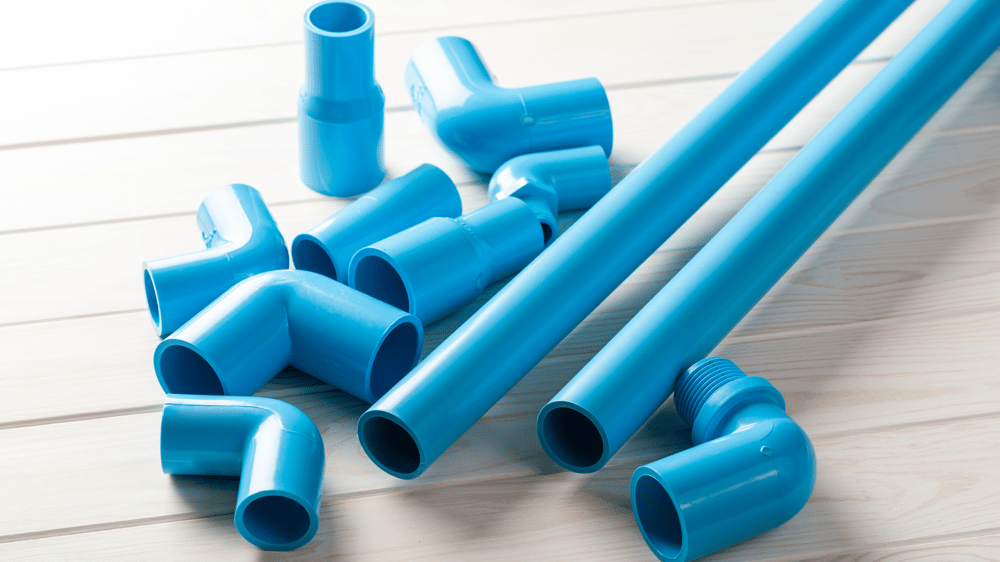
- Piping or Channel: Directs water efficiently to the turbine. Flexible PVC, metal pipes, or hand-dug trenches can guide water with minimal energy loss.
Understanding these parts helps tailor your design to local water conditions—whether you have a babbling brook or a rushing river.
Choosing the Right Location for Your Hydro Generator
The success of your homemade hydro generator depends on where you place it. A weak water source or poor positioning can lead to disappointing energy output—or worse, damage to your setup. Focus on two key factors: the physical characteristics of your water source and the legal rules that govern its use.
Evaluating Water Flow and Elevation
Water flow and elevation (head) determine how much power your generator can produce. Fast-moving water with a steep drop offers the best energy potential. Here’s how to assess these elements:
- Flow rate (current): Measure how much water passes a point per second. A simple method is timing how long it takes to fill a bucket of known size. Multiply the bucket’s volume (in liters or gallons) by the seconds taken, then divide by the container size. For example, a 5-gallon bucket filling in 10 seconds means a flow rate of 0.5 gallons per second.
- Head (vertical drop): The height difference between where water enters your system and where it exits. Use a level or smartphone app to measure the slope. Even a 3-foot drop can generate usable power with a turbine designed for low-head sites.
Combining these measurements gives you the power potential in watts:
(Flow rate in liters/second) × (Head in meters) × (Efficiency constant ≈ 5 for small systems) = Approximate watts produced
Low head vs. high head setups:
- High head (10+ feet drop): Needs pressurized pipes and Pelton turbines. Produces more power with less water.
- Low head (under 10 feet): Works with open channels and cross-flow turbines. Requires higher flow rates for the same output.
If your stream dries up seasonally, consider backup power options. Steady year-round flow is ideal.
For detailed strategies, the U.S. Department of Energy explains professional head measurement techniques.
Legal and Environmental Considerations
Using water for electricity often requires permits, especially if you’re diverting a natural stream. Ignoring regulations can lead to fines or forced removal of your system.
Key legal steps:
- Check local water rights laws. In many areas, even small diversions need approval.
- Contact your state’s Department of Natural Resources or equivalent agency. They regulate water use and may require impact studies.
- If your property borders a waterway, riparian rights might limit modifications.
Environmental best practices:
- Avoid blocking fish migration. Install screens or bypass channels if needed.
- Minimize erosion by securing pipes and avoiding heavy machinery near banks.
- Use existing flows instead of damming. Partial diversions harm ecosystems less.
A 10-minute call to local authorities can save months of headaches. Document all approvals before starting construction.


Building Your Homemade Hydro Generator
Once you’ve assessed your water source and gathered approvals, the real work begins. Constructing a hydro generator involves assembling key components and securing them for reliable operation. The process requires attention to detail—but the payoff is renewable energy with no monthly bills.
Step 1: Gathering Materials and Tools
Start with the essentials. Many components can be repurposed or built from scratch to cut costs. Here’s what you’ll need:
- Turbine:
- High-head setups: Pelton wheel (old dishware or metal cut into cups works).
- Low-head setups: Cross-flow turbine or simple paddlewheel (PVC pipes or scrap wood).
- Alternator/Generator:
- Small car alternator (12V works for basic needs).
- Permanent magnet motor (salvaged from treadmills or washing machines).

- Mounting Frame:
- Pressure-treated lumber or metal brackets.
- Stainless steel bolts and fasteners to resist rust.
- Piping/Channeling:
- PVC pipe (flexible for easy routing).
- Metal culverts or reinforced hose for higher pressure.
- Wiring and Control:
- Waterproof marine-grade wire for outdoor use.
- Charge controller (prevents battery overcharging).
- Basic Tools:
- Angle grinder or hacksaw for cutting materials.
- Wrenches, pliers, and a multimeter for electrical checks.
Budget alternatives:
- Use old bike parts for turbine blades.
- Replace commercial charge controllers with diodes for basic battery protection.
- Repurpose rain gutters as water channels for low-cost diversion.
Missing something? Hardware stores and salvage yards often hold hidden gems.
Step 2: Assembling the Turbine and Alternator
Connect mechanical and electrical components carefully. A loose coupling or misaligned shaft wastes energy—or worse, causes sparks.
1. Attach the turbine to the shaft:
- Drill a center hole in the turbine (match the alternator shaft size).
- Secure with set screws or epoxy for a rigid connection.
2. Couple the shaft to the alternator:
- Use a flexible rubber coupler to absorb minor misalignments.
- Check rotation by hand—should spin freely without wobbling.
3. Wire the alternator:
- Strip and connect output wires to the charge controller.
- Seal connections with heat-shrink tubing or waterproof tape.
Safety notes:
- Wear gloves when handling sharp metal edges.
- Test electrical output with a multimeter before connecting to batteries.
- Keep wiring elevated to avoid water contact.
Step 3: Mounting and Securing the Generator
Positioning affects performance. Turbines must stay submerged but clear of debris that could jam blades.
- Anchoring:
- Bolt the frame to heavy rocks or concrete blocks in the streambed.
- For soft bottoms, drive steel stakes deep into the sediment.
- Water direction:
- Angle pipes or channels to hit turbine blades squarely.
- Adjust flow with rocks or boards if needed.
- Maintenance access:
- Leave space to clear leaves or sediment buildup.
- Ensure wiring runs downstream, away from moving parts.
For variable water levels, mount the turbine on a floating platform (like pontoons from old barrels). Adjustable mounting lets you compensate for seasonal changes.
With the generator secured, you’re ready to channel water and start producing power. Next comes connecting the system to batteries or appliances—the final step before flipping the switch.
Maintaining and Optimizing Your Hydro Generator
Keeping your homemade hydro generator running smoothly requires regular attention. Even simple maintenance can dramatically extend its lifespan and efficiency. A well-maintained system avoids unexpected breakdowns and consistently delivers power—exactly what you need for reliable off-grid energy.
Regular Maintenance Tasks
Check your system every few weeks, especially after heavy rain or seasonal changes. Debris, wear, and minor alignment issues can creep up silently but cause major problems if ignored.
- Inspect the turbine and intake:
- Clear leaves, sticks, or silt that might block water flow.
- Check for bent blades or corrosion, especially on metal parts.
- Secure mounting points:
- Tighten bolts and brackets—vibration can loosen them over time.
- Adjust anchoring if water levels have shifted the generator’s position.
- Clean electrical connections:
- Wipe terminals to prevent corrosion from moisture.
- Reapply waterproof sealant around wire junctions if peeling.
- Lubricate moving parts:
- Use marine-grade grease on bearings and shafts to prevent rust.
- Avoid petroleum-based products; they attract dirt and degrade in water.
For seasonal changes, do a deeper clean. Flush pipes to remove sediment buildup and test all electrical output points with a multimeter. A logbook helps track wear patterns—note dates, weather, and any adjustments made.

Troubleshooting Common Issues
Even the best-built hydro generators face occasional hiccups. Most problems have straightforward fixes if caught early.
Reduced power output:
- Likely cause: Debris slowing the turbine or a wiring fault.
- Solution: Clear the intake, then check voltage at each connection point. Loose or corroded wires often drop efficiency before failing completely..
Unusual noises (grinding, knocking):
- Likely cause: Misaligned shaft, worn bearings, or a loose turbine.
- Solution: Power down and inspect couplings. Realign components and replace bearings if gritty when spun by hand.
Battery not charging:
- Likely cause: Faulty charge controller, corroded terminals, or a blown diode.
- Solution: Bypass the controller temporarily to test voltage directly from the alternator. Replace damaged parts with waterproof equivalents.
For persistent mechanical failures, consider upgrading materials. Stainless steel or composite blades handle constant water exposure better than mild steel or untreated wood. If output still declines with no obvious faults, reassess your water source—seasonal flow changes might require relocating the turbine.
Keep basic spare parts on hand: extra bolts, waterproof wire, and a backup alternator. Most issues can be fixed in under an hour if you’re prepared.
(Note: This section deliberately avoids a conclusion to flow into the next part of your article. The tone balances authority with approachability, focusing on actionable steps without fluff.)

Benefits of a Homemade Hydro Generator
Homemade hydro generators offer more than just off-grid electricity—they provide long-term savings, energy security, and environmental advantages. By tapping into flowing water, you create a self-sustaining power source with minimal ongoing costs.

Energy Independence and Cost Savings
A well-built hydro generator breaks reliance on utility companies. Once installed, it requires no fuel purchases—water does all the work. For remote homes or cabins, this means consistent power without waiting for grid extensions or diesel deliveries.
Key financial benefits:
- No monthly bills: After initial construction, maintenance costs are often under $20/year for lubricants or wiring repairs.
- Low-tech durability: Unlike solar panels with inverters or wind turbines with complex gears, hydro systems have fewer components that degrade.
- Scalable output: Larger setups can offset 100% of household energy needs, while small versions power essentials like lights and refrigeration.
For example, a 200-watt micro-hydro system running continuously can generate 4.8 kWh daily—enough to cover basic appliances without grid input.
Environmental Impact
Hydro generators produce clean energy without burning fossil fuels. They avoid the carbon emissions of coal or gas plants and sidestep the resource mining required for solar panel production.
Sustainability advantages:
- Zero pollution: No smokestacks or fuel spills—only flowing water and kinetic energy.
- Minimal ecosystem disruption: Small-scale diversions rarely harm aquatic life, especially when using screened intakes.
- High efficiency: Water’s density makes hydro systems 80-90% efficient at converting motion to electricity, compared to 15-20% for solar panels.
Unlike wind or solar, hydro generators work day and night, rain or shine. This reliability reduces the need for backup batteries or generators, cutting waste from discarded energy storage systems.
For landowners with access to running water, homemade hydro generators deliver unmatched energy consistency. The benefits extend beyond personal savings—they contribute to broader environmental conservation by displacing dirtier power sources.
Conclusion
A homemade hydro generator transforms flowing water into reliable, sustainable power. With the right location, components, and maintenance, this DIY project offers energy independence and long-term savings. It’s a practical solution for off-grid living or backup power—steady, efficient, and environmentally sound.
If you have a stream or river nearby, start small. Test the water flow, gather materials, and build a basic setup. Share your progress or ask questions in the comments—others can learn from your experience. The first step toward energy freedom is just a shovel and a turbine away.





See other posts like this one:






Your home for DIY projects, off-grid solutions,
and real-world craftsmanship.
Contact
support@charliesworkshop.net
© 2025 Charlie's Workshop