WAIT!
Don’t leave empty-handed! Grab this FREE survival & DIY guide!
Learn how to build a pro-level workshop, slash bills, and prep for any crisis even if you’re a beginner.
Get prepped, powered, and self-reliant starting today.


DIY Crib Plans: Step-by-Step Guide for a Safe and Custom Build

Building a crib yourself gives you control over design, materials, and cost without sacrificing safety—if you follow trusted plans. A well-made DIY crib can last through multiple children while perfectly fitting your nursery’s style. This guide walks through the essentials, from selecting sturdy hardwood to securely assembling every joint, so your finished piece meets safety standards.
Customization is key, whether you’re adjusting dimensions for a tight space or adding non toxic finishes. But precision matters: cribs require strict spacing between slats, proper mattress support, and zero sharp edges. Skip the guesswork—detailed diy crib plans keep the build straightforward and safe.
Check out this video tutorial for a visual approach to building a crib. Then follow along below for detailed instructions.
Essential Tools for Building a DIY Crib
Taking on a crib build means having the right tools—not just any saw or drill will do. Precision and safety matter at every step, so invest in quality tools that ensure tight joints, smooth edges, and a sturdy frame. Here’s what you’ll need before cutting your first piece of wood.
Choosing the Right Materials
Hardwoods like maple or birch are ideal for crib construction. They resist warping, handle wear better than softwoods, and provide the durability needed for years of use. Avoid cheaper options like pine—they dent easily and may not hold up to a child’s growth.
For finishes, stick with water-based, non-toxic paints or natural oils. Brands like ECOS or Real Milk Paint offer safe choices free from volatile organic compounds (VOCs). Sand all surfaces thoroughly to prevent splinters, and apply finishes in thin, even coats for a smooth feel.
Safety Precautions During Construction
Every cut and joint affects safety. Rounded edges prevent scrapes, while tight joints eliminate gaps where small fingers could get pinched. Use a router with a 1/4-inch round-over bit to soften sharp corners.
Spacing between slats must follow safety standards—no more than 2-3/8 inches apart to prevent head entrapment. A combination square or custom spacer block helps maintain accuracy during assembly.
Key safety tools include:
- Respirator mask – Filters sawdust and fumes during sanding and finishing.
- Safety goggles – Shields eyes from flying debris when cutting or drilling.
- Clamps – Secures parts for precise glue-ups and prevents shifting.
Double-check measurements before cutting, and test the crib’s stability by applying pressure at different angles. If it wobbles, reinforce weak joints with wood glue and screws—never nails alone.
Step-by-Step Guide to Building a Basic Crib
Taking precise measurements and ensuring solid construction turns raw lumber into a safe, long-lasting crib. Each step builds on the last—measure twice, cut once, and reinforce every joint for a structure that won’t wobble under pressure.
Cutting and Preparing the Wood
Start by marking all pieces—sides, headboard, footboard, and slats—using a carpenter’s square for accuracy. Hardwoods like maple or oak should be cut to these standard crib dimensions:
- Headboard/footboard: 28" wide x 36" tall
- Side panels: 52" long x 28" tall
- Slats: 1.5" wide x 28" long (spaced 2-3/8" apart)
A table saw ensures straight cuts, while a router with a round-over bit softens edges. Sand every surface with 120-grit paper first, then 220-grit for a splinter-free finish.

Assembling the Crib Frame
Lay the headboard and footboard flat, then attach the side panels with 2.5" wood screws or dowels for a seamless look. Pre-drill holes to prevent splitting, and use corner clamps to hold pieces at 90-degree angles.
For added strength:
- Apply wood glue to joints before screwing.
- Reinforce corners with L-brackets if the design allows.
- Check for squareness with a measuring tape diagonally across the frame.

Attaching the Mattress Support
Install adjustable mattress brackets 6-9 inches from the base to accommodate a growing child. Use 1x4 hardwood rails screwed directly into the side panels, ensuring they can support at least 50 pounds. Test stability by pressing down firmly—the frame shouldn’t flex or creak.
For easy height adjustments later, drill multiple sets of pilot holes along the crib’s interior sides before securing the rails.
Customizing Your DIY Crib
Once the crib structure is built, the real fun begins—making it uniquely yours. Unlike store-bought options, a DIY crib adapts to your style, whether you want subtle elegance or playful decor. Personal touches turn a basic frame into a cherished piece.
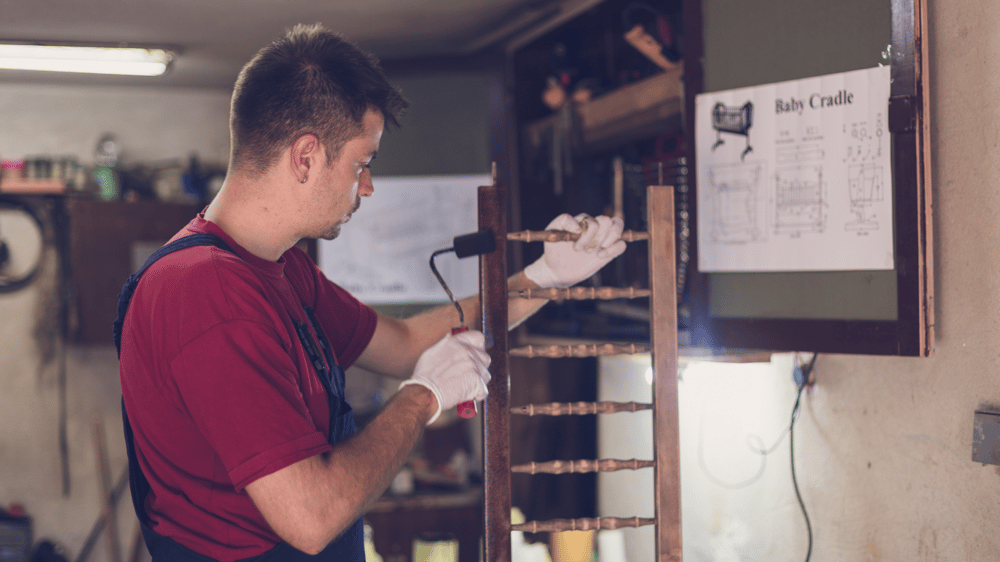
Adding Personal Touches: Monograms, Decals, and Themed Designs
Personalization starts with simple details. A hand-painted monogram on the headboard adds a classic touch, while removable decals let you update the look as your child grows. Consider these ideas:
- Paint accents: Use non-toxic chalk paint for a matte finish in soft pastels or muted earth tones. Stripes or geometric shapes add visual interest without overwhelm. For a natural option, Baby Safe Crib Finish uses zero synthetic additives. Whether you choose wax or oil, test it on scrap wood first to confirm color and texture.
- Laser-cut panels: Replace solid headboards with custom-cut wood panels featuring stars, animals, or nursery rhymes.
- Fabric ties: Attach lightweight curtains or a breathable canopy with removable hooks for a cozy nook effect.
For a coordinated nursery, match the crib’s finish to other furniture. Neutral stains like walnut or whitewash adapt to any theme, while bold colors like sage green or navy create a focal point.
Convertible Crib Options: Designing for Longevity
A well-built crib shouldn’t retire after infancy. Convertible designs transition into toddler beds, daybeds, or even full-sized frames with minor modifications. Here’s how to plan ahead:
- Adjustable mattress heights: Install rails at three levels—highest for newborns, lowest for toddlers learning to stand.
- Removable side panels: Design one side to detach easily for conversion to a toddler bed. Reinforce the remaining sides with extra screws.
- Modular components: Build the headboard and footboard as separate units that can later attach to a full-sized bed frame.
Use durable hardware like threaded inserts for screws—they handle repeated disassembly better than standard wood screws. Pre-drill all holes to prevent splitting during future adjustments.
Common Mistakes to Avoid
Building a crib requires more than just following plans—it demands attention to detail in every measurement, material choice, and safety feature. Small oversights can create hazards or shorten the crib’s lifespan. Here’s where builders often slip up and how to steer clear.
Ignoring Safety Standards
Crib safety isn’t negotiable. Missing key guidelines risks injury or even failure during use. The most critical oversights include:
- Slat spacing errors: Gaps wider than 2-3/8 inches between slats can trap a baby’s head. Use a spacer block or jig during assembly to maintain consistency.
- Weak joint construction: Nails alone won’t hold. Always reinforce with wood glue and screws, especially for load-bearing joints like the mattress frame.
- Toxic finishes: Skip oil-based paints or varnishes with high VOC levels. Water-based, non-toxic options protect developing lungs and skin.
- Sharp edges: Unrounded corners or rough splinters pose scrapes risks. Sand all surfaces and rout edges with a 1/4-inch round-over bit before assembly.
For visual confirmation, follow this crib safety checklist from health experts.
Rushing the Construction Process
A sturdy crib can’t be built on a weekend. Skipping steps like proper drying time for glue or sanding between finish coats weakens the structure:
- Cutting corners on sanding: Rough edges attract moisture and splinter over time. Sand progressively from 120-grit to 220-grit for a smooth surface.
- Skipping wood acclimation: Freshly cut hardwood can warp if not allowed to adjust to room humidity for 48 hours before assembly.
- Forgetting stability tests: After assembly, check for wobble by pushing the crib from multiple angles. Reinforce loose joints immediately.
- Misaligning hardware: Drill pilot holes for screws to prevent splits, and ensure mattress support rails are level before securing.

Patience pays off—measure three times, assemble once, and let finishes cure fully before use. A rushed job often means starting over.
Keep a fire extinguisher rated for electrical and fuel fires nearby. Water won’t stop a gasoline or wiring fire.
Maintenance and Care for Your DIY Crib
Building a crib is just the beginning—keeping it in top condition ensures safety and longevity. Over time, wood expands, finishes wear, and hardware loosens. A little routine care prevents bigger issues and extends the life of your handmade piece.
Regular Inspections: How to Check for Loose Screws, Splinters, or Wear
Inspect the crib every month, paying extra attention after reassembly or moving it to a new room. Focus on these key areas:
- Hardware: Tighten any loose screws or bolts with a screwdriver. Replace stripped screws immediately—they weaken joints over time.
- Wood condition: Run your hand along surfaces to catch splinters or cracks. Sand rough spots with 220-grit paper and reapply finish if needed.
- Stability test: Shake the crib gently. If it wobbles, check corner joints and mattress support rails for gaps or weakness.
Use a flashlight to inspect hard-to-see areas like the underside of the mattress support. Look for stress marks or warping in load-bearing sections. Address minor issues before they compromise safety.


Cleaning Tips: Safe Products and Methods for Wood and Finishes
Dust and spills can degrade finishes or harbor bacteria. Clean the crib weekly with these methods:
- Dust first: Wipe surfaces with a microfiber cloth to remove debris. Avoid feather dusters—they spread particles instead of trapping them.
- Spot-clean stains: Mix 1 tsp mild dish soap with 1 cup warm water. Dampen a cloth (never spray directly) and wipe stains gently. Dry immediately to prevent watermarks.
- Disinfect safely: Use a 50/50 white vinegar and water solution on teething rails or high-touch areas. Vinegar kills germs without harsh chemicals.
For finishes like wax or oil, reapply a thin coat yearly to maintain protection. Avoid silicone-based polishes—they create slippery surfaces and can weaken wood over time.
Store cleaning supplies out of reach, and never use bleach or ammonia-based products. They can damage finishes and irritate a baby’s skin.
Conclusion
A DIY crib blends practicality with creativity—saving money, matching your nursery’s style, and lasting through multiple children. Prioritize safety at every step: select durable hardwoods, follow spacing guidelines, and reinforce joints. Custom designs like convertible features or hand-painted details make it uniquely yours.
Enjoy the process. Measure carefully, work patiently, and take pride in building something safe and meaningful. Share your finished crib or tips in the comments—your project might inspire the next builder.






See other posts like this one:







Your home for DIY projects, off-grid solutions,
and real-world craftsmanship.
Contact
support@charliesworkshop.net
© 2025 Charlie's Workshop