WAIT!
Don’t leave empty-handed! Grab this FREE survival & DIY guide!
Learn how to build a pro-level workshop, slash bills, and prep for any crisis even if you’re a beginner.
Get prepped, powered, and self-reliant starting today.


DIY Bird Feeder Woodworking: Easy Projects for Beginners
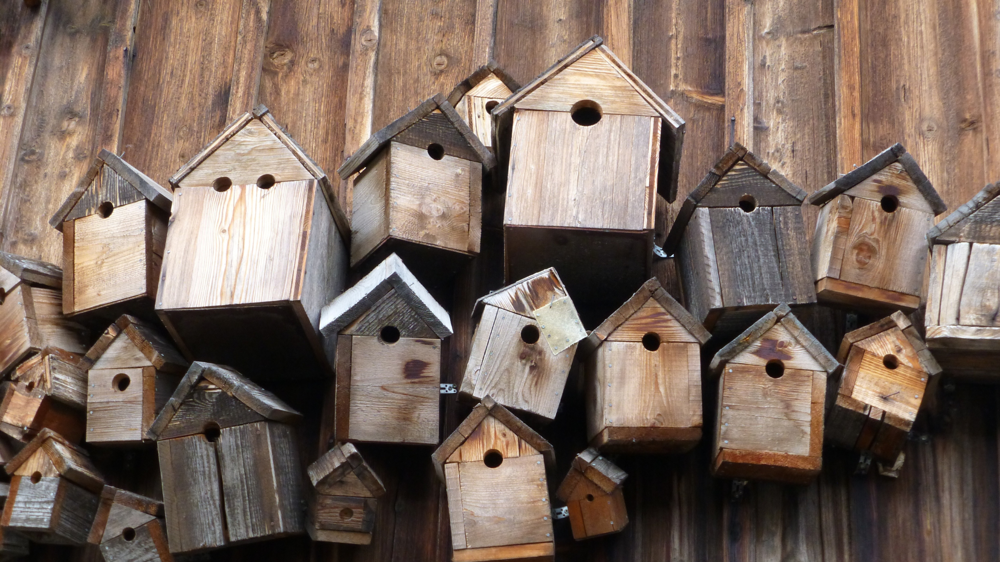
Building your own DIY wooden bird feeder is a simple woodworking project that makes your backyard more lively while sharpening your skills. DIY bird feeder woodworking gives you control over materials, design, and durability while keeping costs low. Even beginners can create functional feeders with basic tools and a little guidance.
The satisfaction of watching birds enjoy something you built adds extra meaning to the craft. Whether you prefer rustic charm or clean lines, wood offers flexibility for feeders that last seasons. Projects range from quick weekend builds to more detailed designs for experienced makers.
Video tutorial: How to Make a Bird Feeder
Essential Tools for DIY Bird Feeder Woodworking
The right tools make woodworking projects smoother and safer, especially for beginners. Whether building a simple tray feeder or a more complex design, having essential tools on hand helps you work efficiently. From basic hand tools to power equipment, each serves a purpose in crafting durable bird feeders.
Basic Hand Tools
For small bird feeder projects, hand tools often provide enough precision without requiring power equipment. Start with these essentials:
- Measuring tape & square – Ensures accurate cuts and angles.
- Hand saw – A sharp panel saw or coping saw handles small wood pieces.
- Claw hammer – Drives nails and removes mistakes.
- Chisel & sandpaper – Smooths rough edges for a clean finish.
- Pliers & screwdrivers – Tightens screws and secures joints.
A basic toolkit keeps costs low while providing everything needed for simple DIY bird feeder woodworking.
Power Tools for Efficiency
Power tools speed up repetitive tasks, making them ideal for more detailed feeders:
- Cordless drill/driver – Pre-drilling holes prevents wood splitting.
- Jigsaw or circular saw – Cuts straight lines and curves faster.
- Orbital sander – Smooth surfaces in seconds compared to hand sanding.
- Router (optional) – Adds decorative edges to roofs or perches.
While not essential, these tools help when working with harder woods or making multiple feeders. If using power tools for the first time, practice on scrap wood first.
Safety Gear and Precautions
Woodworking demands respect for tools and materials. Always prioritize safety:
- Safety glasses – Protects eyes from sawdust and splinters.
- Dust mask – Filters airborne particles when sanding or cutting.
- Work gloves – Reduces blisters but avoids loose cuffs around moving tools.
- Stable work surface – Clamps wood securely to prevent slipping.
Simple precautions like keeping fingers clear of blades and unplugging power tools when adjusting bits prevent most accidents. A well-lit workspace also minimizes mistakes and hazards.
Choosing the Right Wood for Your Bird Feeder
The type of wood you pick for your DIY bird feeder woodworking project affects its durability, safety, and attractiveness to birds. Unlike decking or furniture, bird feeders deal with constant exposure to weather and small beaks. Some woods resist rotting naturally, others need regular maintenance. Your choice impacts how often you'll rebuild or repair feeders down the road.
Cedar and Redwood for Weather Resistance
Cedar and redwood top the list for DIY bird feeder woodworking because they handle rain, snow, and sun better than most options. Both contain natural oils that deter rot and insects without chemical treatments. Cedar has a distinct aroma birds don't mind, making it popular for feeder builds. Redwood lasts decades outdoors but costs more than other choices.
Key reasons these work well:
- Natural resistance to decay and warping
- Requires less maintenance over time
- Safe for birds untreated
- Attractive grain patterns
Plywood as a Budget-Friendly Option
Plywood works well for beginners tackling their first DIY bird feeder woodworking project because it's inexpensive and easy to cut. Select exterior-grade plywood with waterproof glue to withstand moisture. Unlike solid wood, plywood layers may separate over time if not sealed properly. Many woodworkers pair it with cedar trim for durability in key areas like roofs.
Consider these factors:
- Cheaper than solid wood but less durable
- Must be painted or sealed to prevent swelling
- Works best for simple, flat-panel designs
- Avoid interior grades – they soak up rain instantly


Avoiding Treated or Painted Wood
Pressure-treated wood contains chemicals like arsenic that can harm birds if ingested from flaking surfaces. Similarly, painted wood poses risks unless you use non-toxic, water-based paints on exterior surfaces only. Birds peck at feeders constantly, so any surface coating must be completely bird-safe. Stick to these rules instead:
- Use unfinished cedar or redwood where birds perch regularly
- If painting, limit it to outer roofs or decorative trim
- Never coat interior feeding areas or perches
- Clean untreated wood annually with vinegar or mild soap
Wood like untreated pine can work if properly maintained. Regular inspections catch wear before it becomes dangerous.
Simple Designs to Get You Started
DIY bird feeder woodworking doesn’t require complex plans to attract birds effectively. Simple designs work just as well as elaborate ones, especially for beginners. Start with these straightforward projects that require minimal materials and time. Each design serves a different purpose, from open feeding to enclosed seed storage.
The Classic Tray Feeder
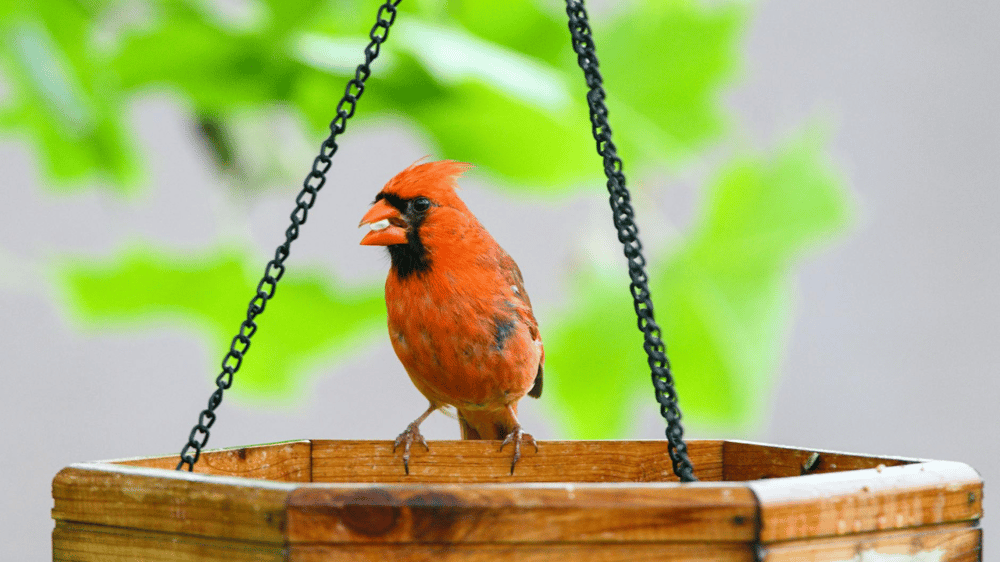
A flat surface with raised edges makes the easiest type of DIY bird feeder woodworking project. The open design lets birds perch anywhere while keeping seeds contained. Use cedar or redwood for weather resistance, or plywood sealed with outdoor paint for budget builds.
This design works well because:
- No complex cuts—just a flat base with 1-2" side walls
- Lets multiple birds feed at once
- Easy to refill and clean
- Mounts on posts, hangs from chains, or attaches to railings
For detailed measurements, the DIY Wood Bird Feeder Project guide breaks down tray dimensions for different bird species.
The Hanging Tube Feeder
Tube feeders keep seeds dry and discourage squirrels better than open designs. Cut a section of PVC pipe or use a pre-made wooden cylinder with feeding ports. Add perches below each opening so smaller birds like finches can cling easily.
Key features:
- Longer seed storage means fewer refills
- Adjust port sizes to control which birds access food
- Suspend with rope or chain for minimal squirrel access
- Clear acrylic tubes let you monitor seed levels
The Window-Mounted Feeder
Suction cups or brackets attach these shallow trays directly to window glass. Build them with lightweight wood like pine to avoid straining the mounting hardware. Birds grow accustomed to nearby movement, letting you observe them up close without startling them.
Why try this style?
- Provides entertainment just inches from indoor seating
- Simple construction—often just a small box with one open side
- Encourages shy species like chickadees to visit regularly
Step-by-Step Assembly Guide
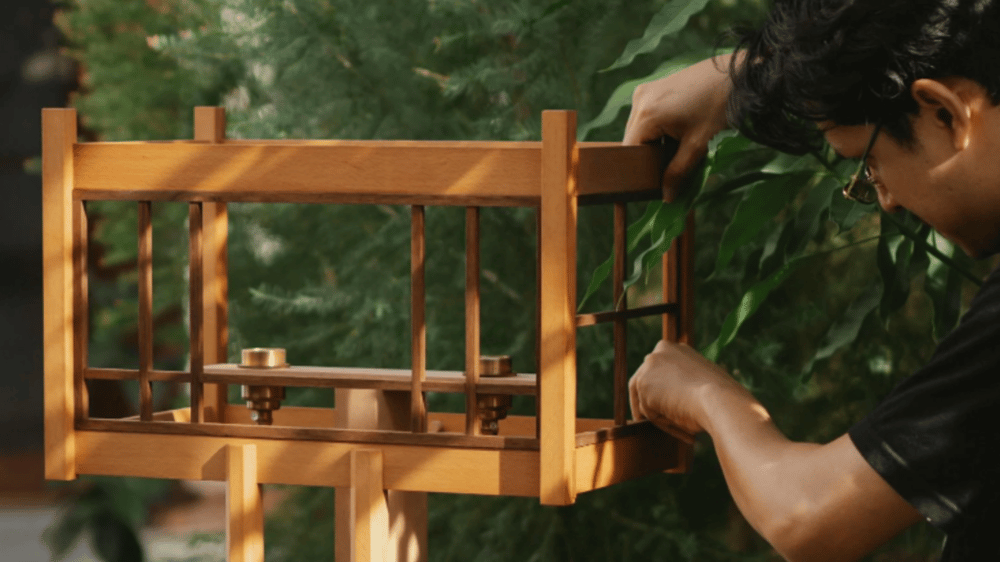
Once you've gathered tools and materials, assembling your DIY bird feeder woodworking project involves precise cuts, smooth edges, and secure joints. Taking time at each stage ensures a feeder that lasts through seasons while keeping birds safe. Follow this guide to avoid common mistakes and create a sturdy final product.
Cutting the Wood Pieces
Start by marking measurements clearly on your wood with a pencil and square. Use a handsaw for smaller pieces or a jigsaw for curves and thicker stock. Always cut slightly outside your lines—you can sand down excess but can’t add material back. Key parts to prepare:
- Base/floor: Typically 8x10” for tray feeders, 4x4” for small hanging designs
- Side walls: Cut two longer pieces (for front/back) and two shorter end pieces
- Roof panels: Angle cuts at 15-30 degrees for proper water runoff
A simple bird feeder guide shows how to transfer measurements accurately before making cuts.
Drilling and Sanding for Safety
Birds land on rough edges, so sand all surfaces with 120-grit paper first, then 220-grit for smoothness. Focus on perches and feeding edges where contact occurs most. Pre-drill screw holes to prevent wood splitting—especially near ends of boards. Critical steps:
- Drill pilot holes slightly smaller than your screw diameter
- Countersink screws so heads sit flush with the wood surface
- Sand interior surfaces twice to remove splinters
- Round sharp corners with sandpaper or a router
Exposed edges absorb moisture faster, so pay extra attention to end grains.
Assembling and Securing the Feeder
Dry-fit all pieces before adding glue or screws to confirm proper alignment. Waterproof wood glue strengthens joints, but screws provide lasting hold. Follow this sequence for most designs:
- Attach side walls to the base first, checking for square corners
- Add roof panels, overlapping the front edge to divert rain
- Install perches by drilling through side walls and securing with waterproof glue
- Reinforce joints with exterior-grade screws every 4-6 inches
For designs with moving parts like hinged roofs, test functionality before final tightening.
Finishing and Maintenance Tips
A well-built DIY bird feeder woodworking project needs proper finishing and care to last through wind, rain, and hungry birds. Even the best designs fail without regular maintenance—wood cracks, mold grows, and seeds turn stale. These steps keep feeders functional and safe for years while minimizing repairs.
Applying a Safe Wood Finish
Not all finishes work for bird feeders, since toxic chemicals can harm birds that peck at surfaces. Linseed oil and tung oil offer natural protection without dangerous additives. These oils soak into wood instead of forming a plastic-like coating that flakes off.
Key steps for applying a bird-safe finish:
- Sand wood smooth before applying any product
- Use a natural oil like linseed, thinning with citrus solvent if needed
- Avoid commercial stains or varnishes with synthetic chemicals
- Reapply oil annually, focusing on end grains and joints


Cleaning and Refilling the Feeder
Dirty feeders spread disease among birds, making regular cleaning essential. Aim for monthly cleanings or bi-weekly during humid months. Remove old seeds and scrub with a stiff brush, then disinfect with a mild bleach solution (1 part bleach to 9 parts water).
Best practices include:
- Emptying all seed and debris before washing
- Using hot water and vinegar for light cleaning, bleach for deep cleaning
- Drying completely before refilling to prevent mold
- Checking for splinters or rough spots that could injure birds
Seasonal Maintenance Advice
Weather demands different care in summer versus winter. Heat warps wood and breeds mold, while freezing temperatures make seeds clump. Adjust your approach with these seasonal tips:
Summer
- Clean every two weeks due to higher humidity
- Move feeders into shade to slow seed spoilage
- Provide shallow water dishes nearby
Winter
- Brush off snow daily to keep ports accessible
- Use high-fat seeds like sunflower to help birds conserve energy
- Insulate metal perches with wooden sleeves to prevent frostbite
Conclusion
DIY bird feeder woodworking blends practical skill-building with immediate rewards. Each project creates a lasting haven for birds while honing your ability to measure, cut, and assemble wood. Unlike store-bought feeders, yours will match your backyard’s style and stand up to years of weather.
The process teaches patience and precision, yet remains accessible even with basic tools. Whether you choose cedar for durability or plywood for affordability, the key lies in proper assembly and maintenance. Watching birds flock to a feeder you built adds unmatched satisfaction to the craft.
Start small with a tray feeder, or challenge yourself with an enclosed design. Share your results online to inspire others in the diy bird feeder woodworking community. Then grab your tools—the birds are waiting.






See other posts like this one:






Your home for DIY projects, off-grid solutions,
and real-world craftsmanship.
Contact
support@charliesworkshop.net
© 2025 Charlie's Workshop